Discovering Gelatine Printing
A friend told me about gelatine printing almost 10 years ago! My first thought was, printing on a gelatin plate? How do you keep the plate neat and tidy? I guess I didn't listen properly, as I would have started using this technique many years ago if I had realized how fun it is.
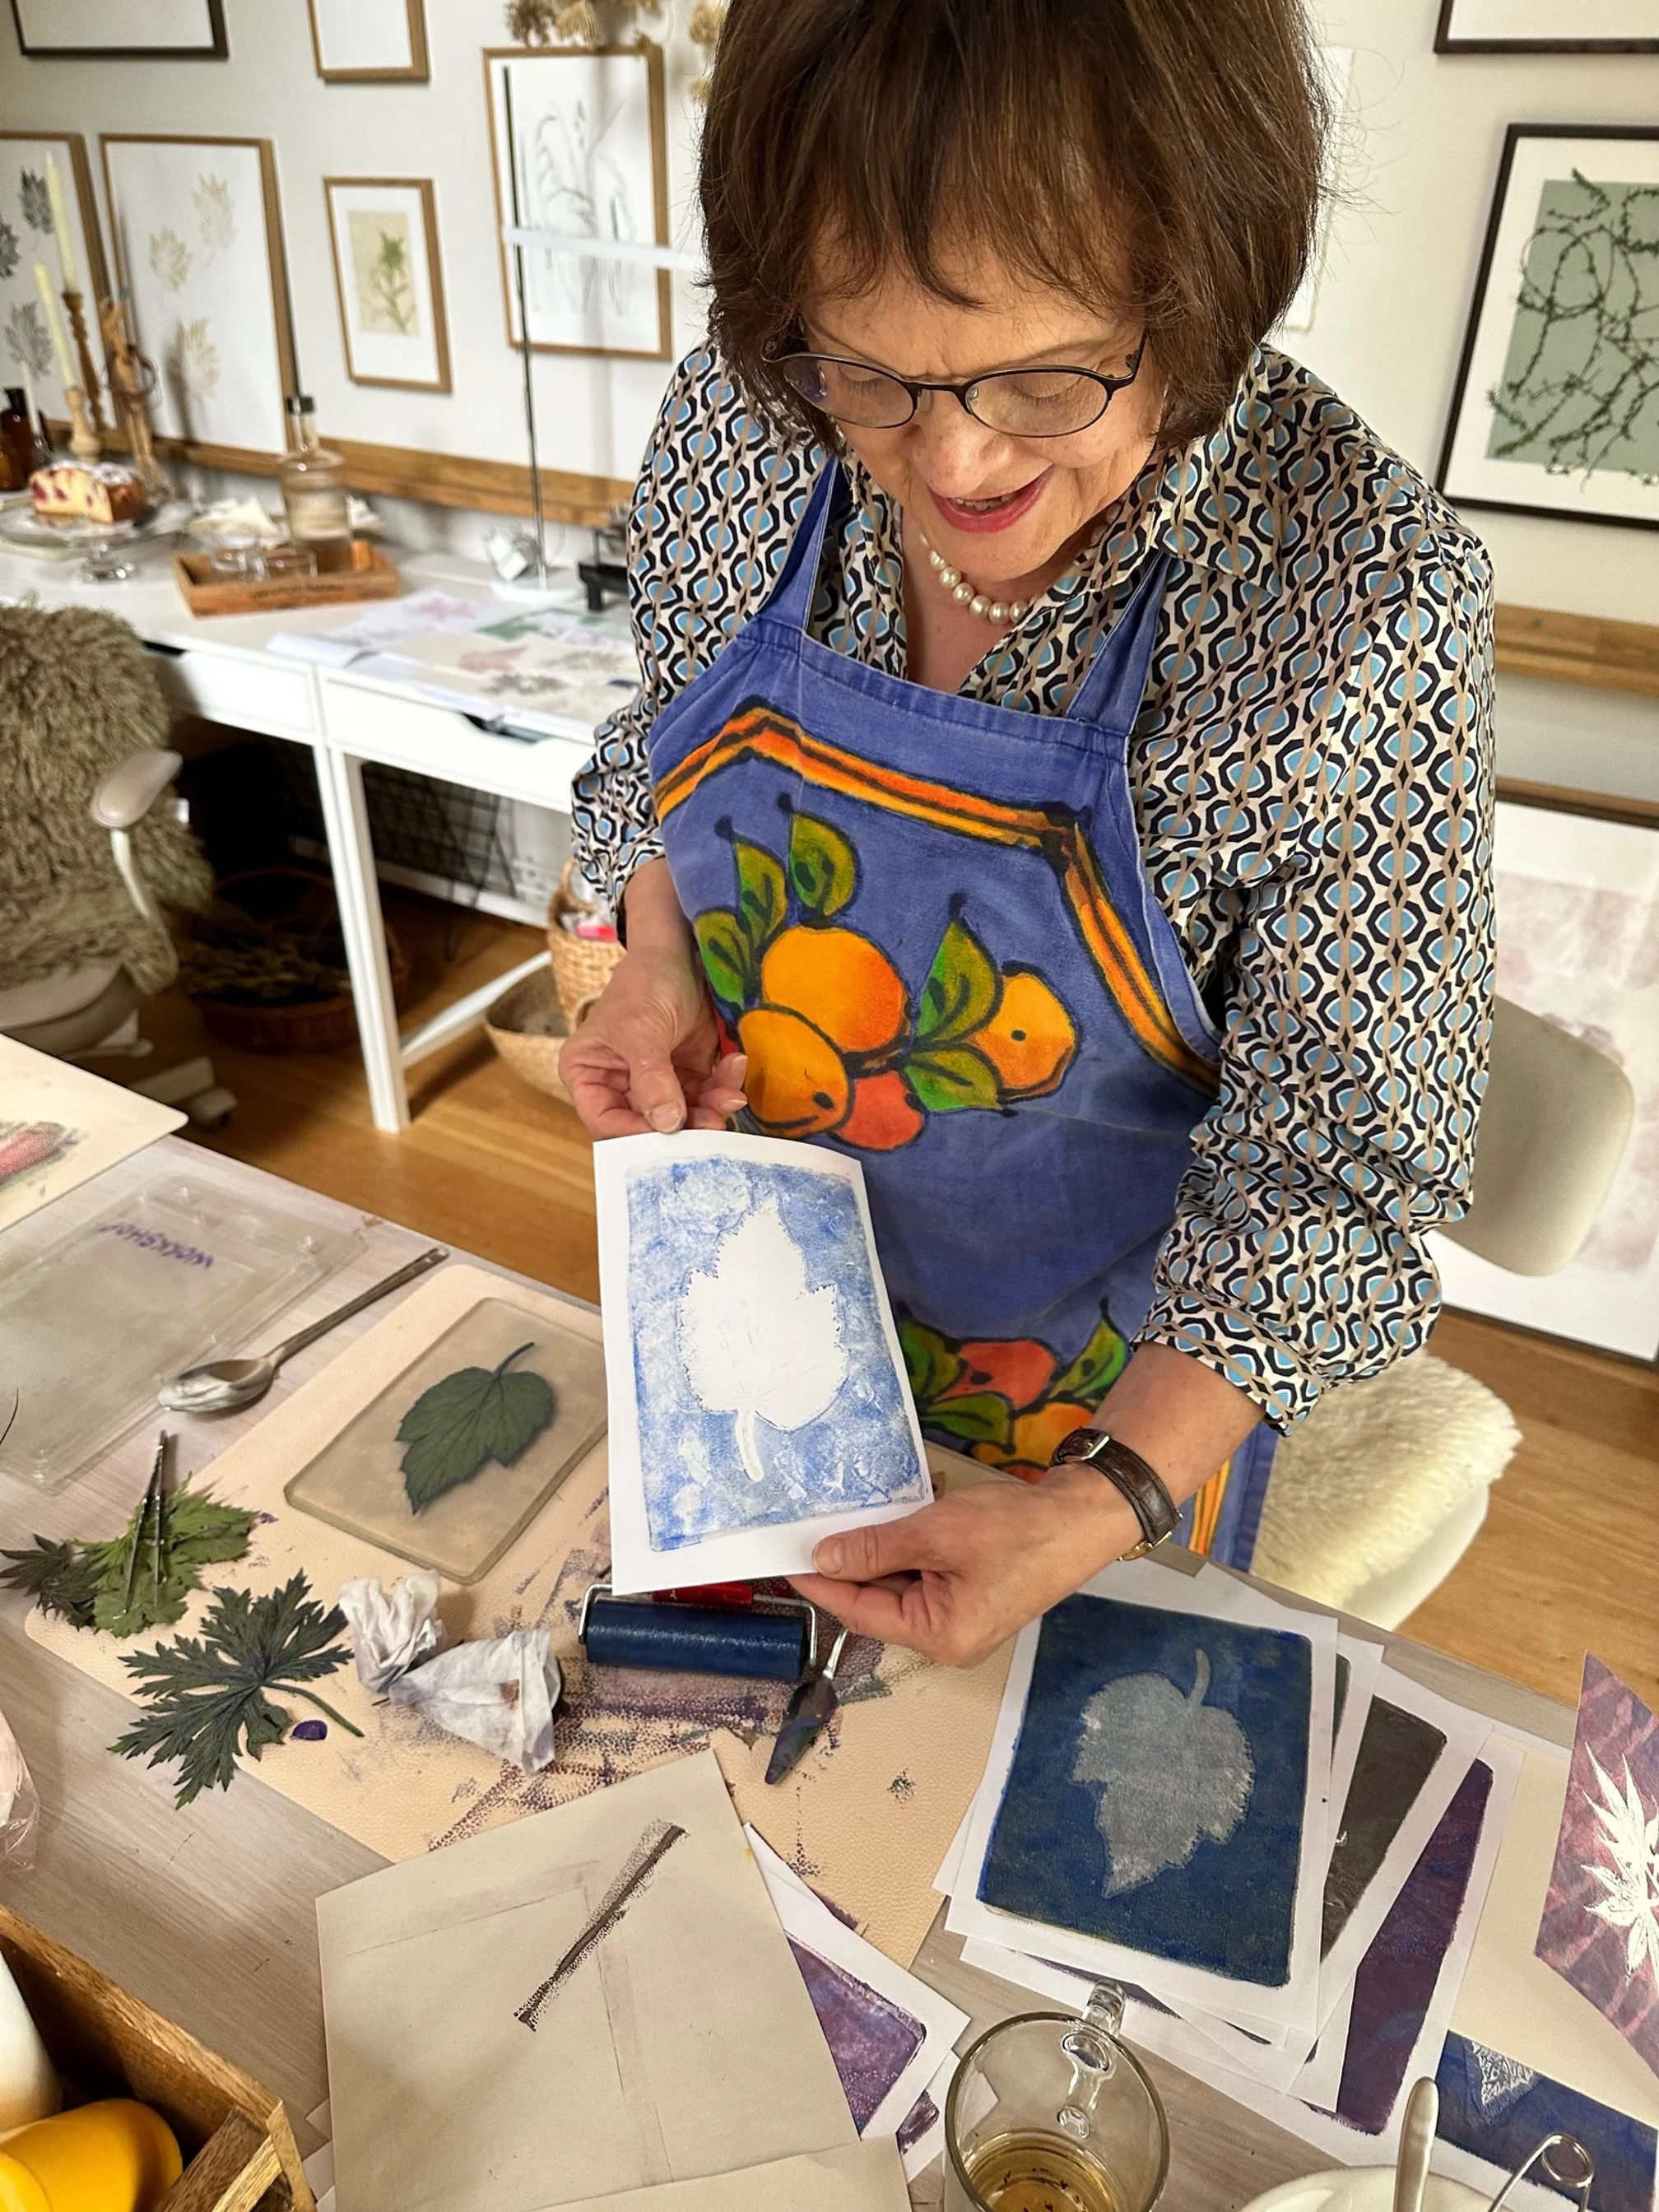
Gelatine printing, also known as gel printing or gelli printing, is a versatile and creative form of monoprinting that uses a gelatin-based printing plate. The technique allows for the creation of unique and layered prints with various textures and colors. Currently, I use leaves and flowers (both fresh and dried) in my prints, but I'm eager to experiment with other materials.
I now always keep an eye out for pieces of paper, plastic, and other materials that might add interesting dimensions to my prints.
What You Need for Gelatine Printing

Gelatin Plate: A flexible printing surface made from gelatin or synthetic alternatives. While commercially available plates can be bought in art shops, you can also make your own using gelatin or agar agar. I opted to buy two plates in different sizes.
Paints: Acrylic paints work very well, but you can also use watercolors or printmaking inks.
Brayers: Rollers in various sizes to spread the paint evenly on the gelatin plate.
Paper: Various types of paper can be used, including printing paper, tissue paper, or fabric.
Stencils, Textures, and Tools: Items like stencils, stamps, leaves, and textured materials to create patterns and designs.


Steps for Gelatine Printing
Prepare Your Gelatin Plate: Get your gelatin plate ready.
Apply Paint: Apply small amounts of paint onto the gelatin plate. Caution: don’t be too heavy-handed!
Spread the Paint: Use a brayer to spread the paint into a thin, even layer across the plate.
Create Patterns and Textures: The fun starts here! Place stencils, stamps, leaves, or other textured objects onto the paint. You can also use tools to draw or scrape designs directly onto the paint.
Transfer the Print: Lay down the paper over the gelatin plate, gently press it to transfer the paint, and smooth it with your hands to ensure even contact.
Lift the Paper: Carefully lift the paper off the plate to reveal your print, a unique monoprint that cannot be exactly duplicated.
Repeat for Layers: The process can be repeated to add more layers, textures, and colors.

Tips for Successful Gelatine Printing

Experiment with Different Materials: Try various objects for creating textures, such as bubble wrap, fabric, or leaves.
Layering: Build up layers of paint and patterns to create depth and complexity in your prints.
Clean Up: Clean the gelatin plate, brayer, and tools promptly after use to maintain their longevity.
Gelatine printing is fun, versatile, and very expressive, opening up a world of artistic possibilities. And truly, anyone can do this!