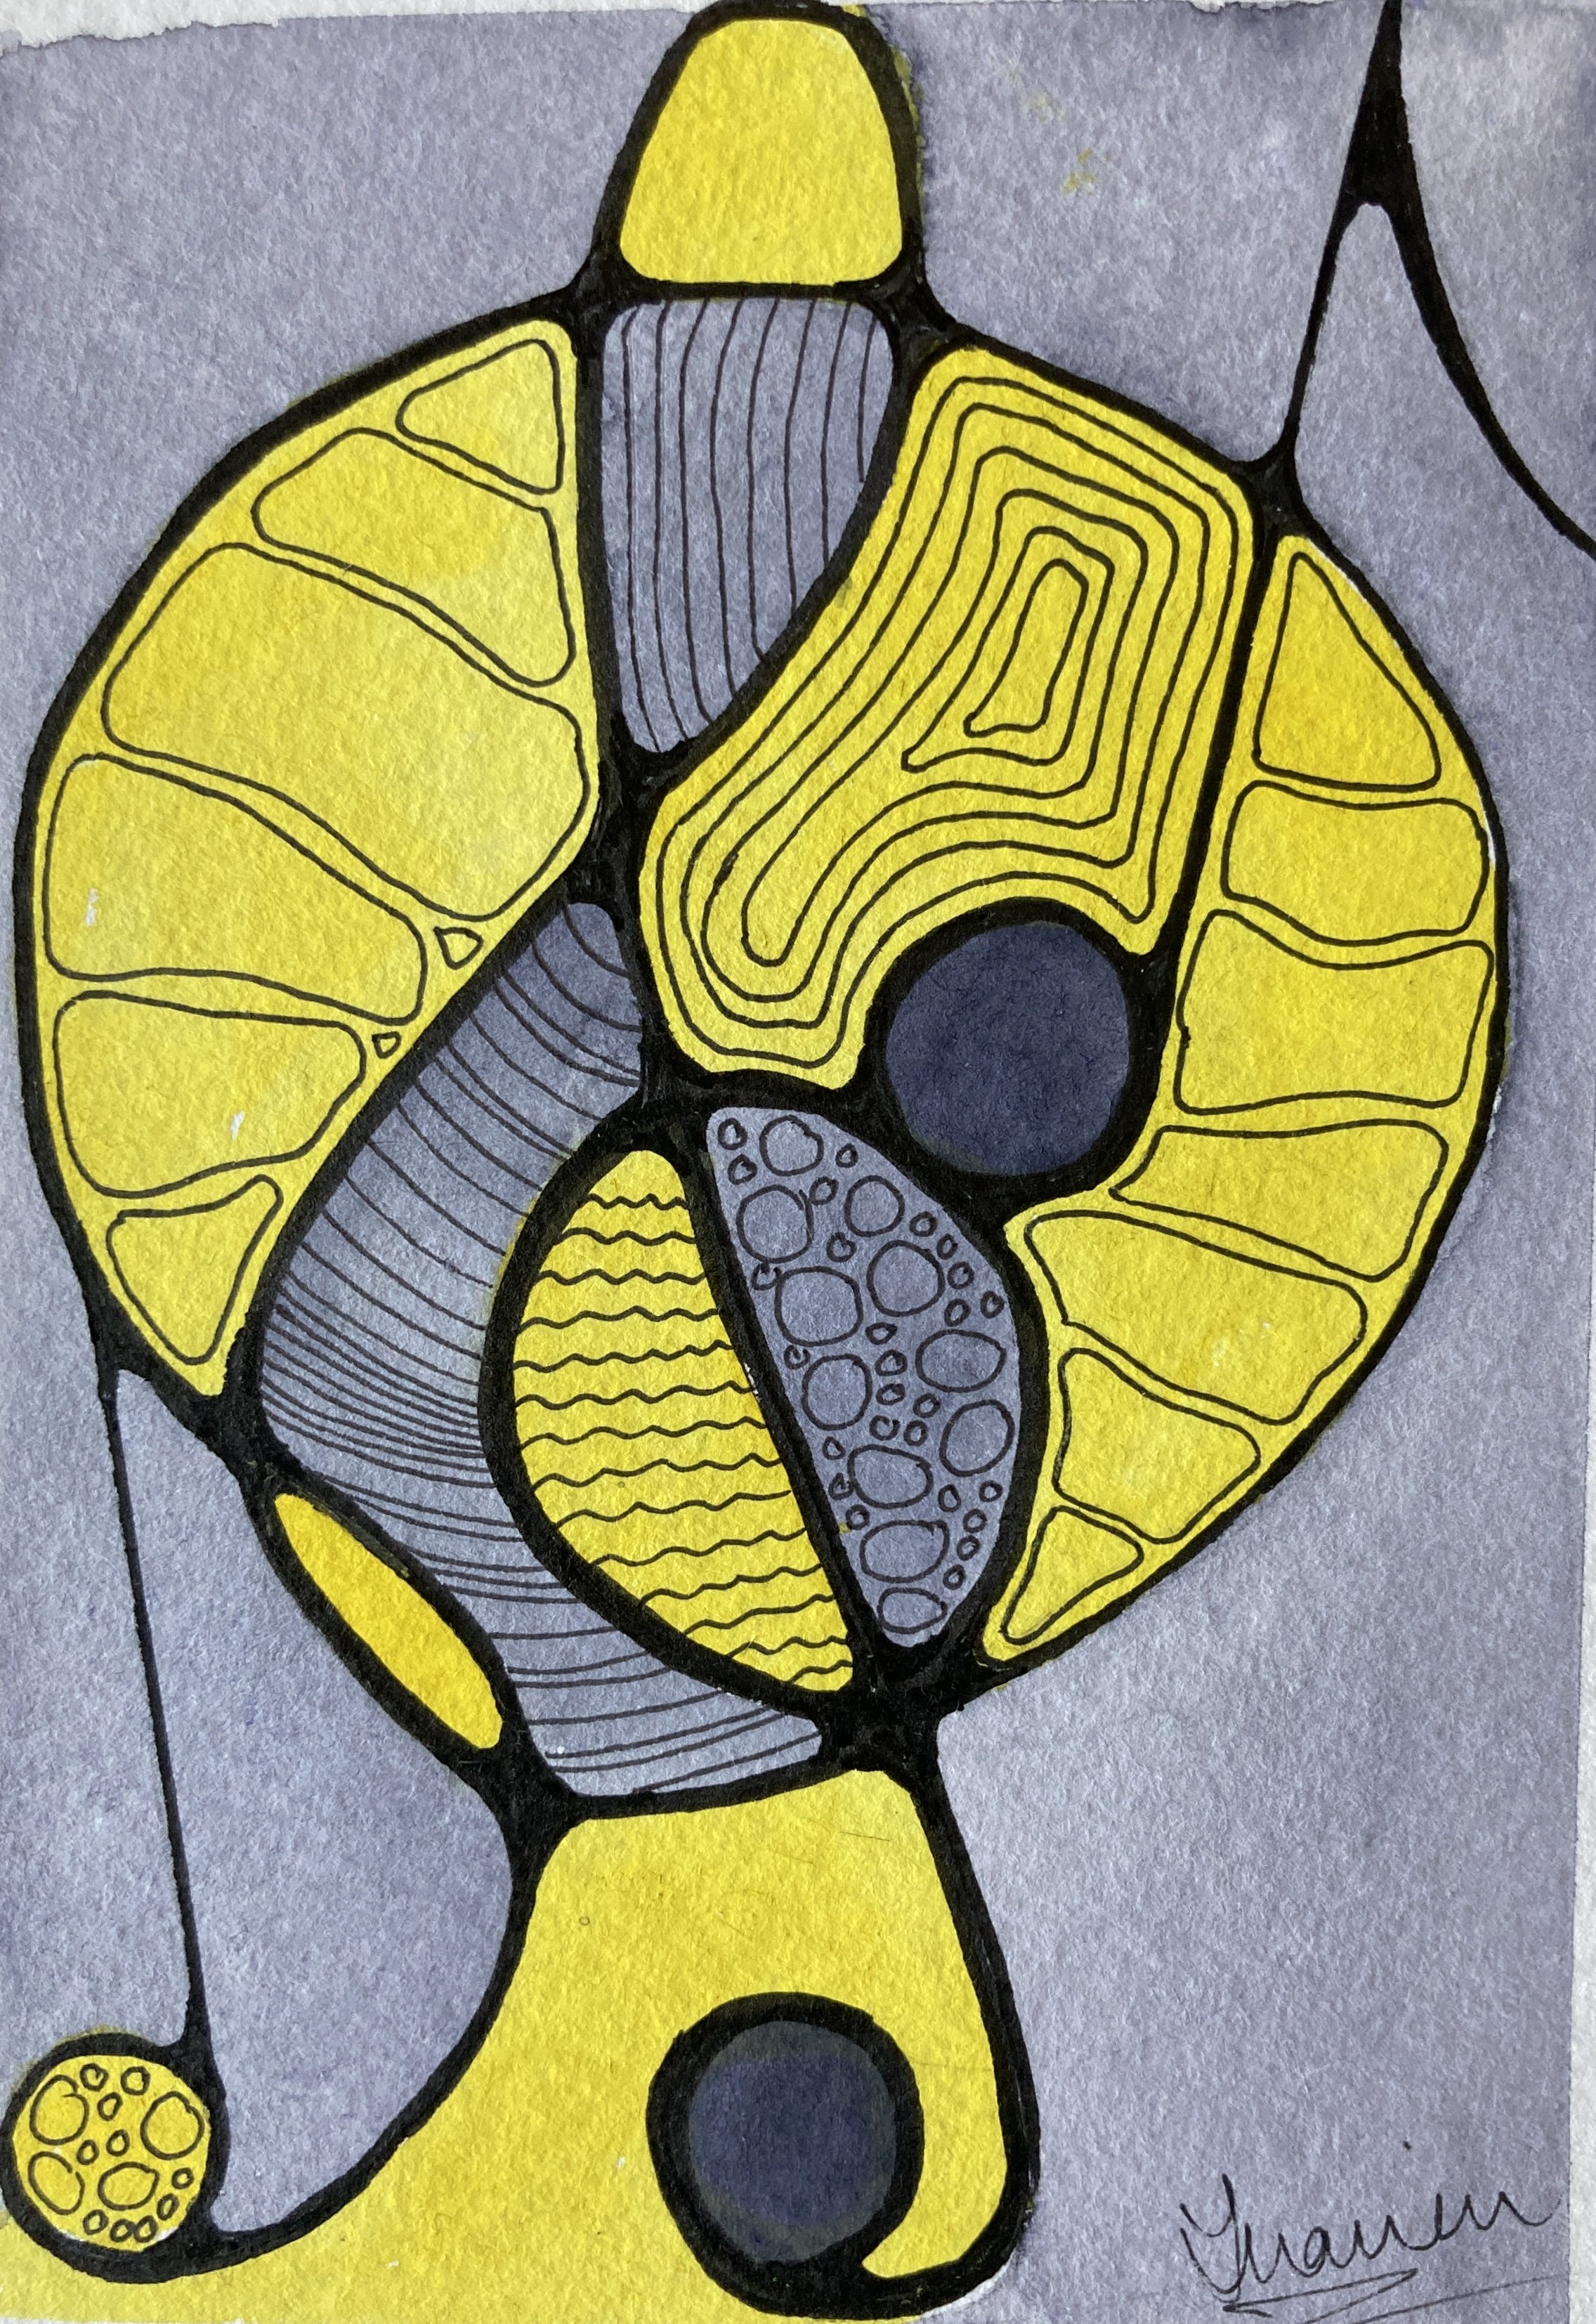
What is neurographic art?

Neurographic art is mindfulness in art, a process that allows you to draw either realistic or abstract designs. Neurographic art helps to connect the outer world which can be filled with fear, stress, anxiety, being too hurried with the inner world in a more relaxing, meditative, and relaxing manner. The focus is on rounding out intersections and sharp angles, creating a sense of wholeness, softening harsh thoughts, and spoken words, letting go of fear and becoming relaxed. The more you draw or paint neurographic art, the more you open neural pathways and stimulate a new restorative process.
The process: find a comfortable place, get your supplies ready, choose background music and start!
YOU DON’T HAVE TO USE EXPENSIVE PAPER OR PAINTS. COLORING IN PENCILS WORK VERY WELL, ALSO FELT PENS. FIRST TRY AND TRY AND TRY, AND IF YOU THINK YOU WOULD LIKE TO CONTINUE, THEN BUY MORE EXPENSIVE PAPER, PAINTS AND BRUSHES.
My preference is to use watercolor, therefore a few words about the supplies that you may be interested in purchasing at some stage.
Here is more advice on paper, brushes and paints if you would like to pursue neurographic art with watercolor.
Paper:
There are three types of watercolor art paper, namely Hot Pressed (HP), Cold Pressed (NOT) and Rough. Hot pressed is very smooth and is best for when you would like to do fine detailed work. I personally prefer Cold Pressed for almost all my paintings. It has a beautiful texture. You will also note that paper has different weights; I prefer 300g/m2 or 140lbs.
There are many different brands of paper; my favorite brands are Arches, Winsor & Newton, Hahnemuhle and Fabriano Artistico, the latter being excellent value for money.
However, it is very worthwhile to buy a practice pad – Canson has a spiral bound pad that is wonderful for practicing. You can keep all your work together in one place.
Paint:

Paints
I use a variety of paints from different brands – Winsor & Newton artist grade, Winsor & Newton Cotman, which is student grade, Daniel Smith (wonderful for interesting pigments and colours), Sennelier (a French brand) and Holbein (a Japanese brand).
Paints come in cool and warm shades, as well as transparent and opaque. To start, I would suggest that you buy the following paints (and start with the Cotman range as this is very affordable and you can build from here):
Lemon Yellow and Cadmium Yellow
Cerulean Blue and Ultramarine Blue
Alizarin Crimson and Cadmium Red
The following colours are fun to have when you start mixing your paints and will allow you to go darker or lighter: Juane Brilliant (Holbein), Payne’s Gray and Yellow Ochre. And I just LOVE indigo. It is a stunning colour to have and works very well with yellow.
A fun purchase to explore colours and pigmentation is the Daniel Smith dot cards. The complete set has 238 colours on it. This could be a good alternative to start with; the colour charts have dots of paint that you activate with a little bit of water.

Brushes
Brushes:
You get different brushes for watercolour, acrylic paint, and oil paint. Therefore, always make sure that you find the right brush for the medium that you are using. To start, buy 3 round brushes (#2, #4 and #8) with a nice sharp point.
A rigger is always a fun extra – it is a brush with long, thin set of hairs and is wonderful to paint fine long lines.
Other:
Ruler, an eraser/rubber
Waterproof fine liners (start with 0.05, 0.1, 0.5 and 0.8). I like Staedler because it is color fast. This is important as some of the other pens will run when you wet the paper.
Color crayons, pastel crayons, fiber tip pens and a variety of Uni-ball Signo broad pens (gold, silver, red and blue; do not buy the white. The ink does not flow that well. I have tried it numerous times and am always disappointed).
Kitchen salt adds a wonderful and fun dimension to wet paint, also plastic wrap! And get a small sea sponge.

Sea sponge and salt
Now, let’s start drawing:
I always listen to music while painting.
Good light is essential. Don’t work with shadows on your paper.
Get your paper ready:
I always mount the paper that I will use on a wooden board. Pressed wood works well. I have various sizes of wood boards. I use normal masking tape to adhere the card to the board.
Now start drawing: you can start anywhere, there are no rules. You can do this in more than one way:
You can draw an uninterrupted line, perhaps add a second or 3rd one… anything is possible!
You can decide upfront what you would like to do and have more than one line. Or you can mix shapes – circles, squares, triangles.
Anything is possible! You can use black Van Gogh paper, and use solver and gold pens.
And then, the MOST important part, you need to round out all the intersections. This is a very important aspect of neurographic art. And you can make it bigger or smaller.
You can then fill the shapes with colour or you can keep it monotone and fill it with shapes. Look at Pinterest for more inspiration.